Provisioning a LAMP Stack and WordPress with Chef, Part 2: A Recipe for WordPress
In part 1 of this two-part series, I introduced Chef and went through the process using it to set up and configure a LAMP stack on a virtual private server. In this second part, we’ll use Chef to install and configure WordPress on our server, all without touching an FTP client!
We’ll be setting up WordPress for a single site, which will involve three steps, all of which we’ll be automating with Chef:
- Create an Apache virtual host pointing our site’s domain to a directory on our server
- Create a database user and database to use for this WordPress installation (for security reasons, it’s a good idea to avoid using the default “root” MySQL user)
- Install WordPress from the Wordpress.org and set up our “wp-config.php” to configure this installation
Getting Started
This second part will require us to create our first custom cookbook and recipes. This is primarily to take advantage of the apache2 cookbook’s web_app block, which can be used only inside of a recipe. But putting all of our code into a custom cookbook would be a good idea anyway just to keep things organized. And thankfully, creating a custom cookbook is fairly simple:
$ knife cookbook create test_site
This will create a new directory called “test_site” within “site-cookbooks,” which will contain the directories and files that make up our new cookbook. (The knife cookbook generator will create more directories than we need, so don’t worry about all of them.) First, edit “metadata.rb” within the cookbook directory, where we’ll specify our cookbook’s dependencies:
# site-cookbooks/test_site/metadata.rb
depends 'apache2'
depends 'mysql'
depends 'php'
depends 'database'
The first three should be familiar from part 1, and “database” is another third-party cookbook from the Opscode folks which lets Chef create databases and users for a variety of database software like our MySQL. Since this is new to our Chef project, we’ll need to add cookbook 'database', '~> 2.2.0' to our Cheffile and run $ librarian-chef install to install it before we can use it here.
Avoiding Repetition with Cookbook Attributes
There are certain values we’ll be using throughout our recipe, so it’s a cood idea to avoid repeating ourselves by declaring them as cookbook attributes:
# site-cookbooks/test_site/attributes/default.rb
default[:test_site][:app_name] = 'test_site'
default[:test_site][:server_name] = 'test_site.yourdomain.com'
default[:test_site][:app_root] = "/var/www/#{node[:test_site][:app_name]}"
default[:test_site][:db_password] = 'anothersecurepassword'
It’s a good idea to namespace attributes as we’ve done here, in order to avoid collisions with variables defined by other cookbooks. Throughout our recipe, we’ll access them with node[:test_site][:app_name], node[:test_site][:db_password], etc. Not only does defining these attributes avoid repetition, but it allows us to change them easily if we use this recipe elsewhere. And remember that to actually host this WordPress site, you’ll need to create a DNS record pointing whichever domain you’re using as a 'server_name' to your VPS.
Our Default Recipe
Now we’re ready to begin writing the recipe (or recipes, as we’ll see). As mentioned earlier, by default Chef will look for a recipe called, predictably, “default.rb” within our cookbook, so that’s where we’ll start. Open up “site-cookbooks/test_site/recipes/default.rb”, where we’ll describe our custom recipe for a new WordPress site. While you can put all of your recipe code within “default.rb”, it’s a good idea for organization’s sake to break it up into separate recipes for Apache, MySQL, and WordPress-related configuration. So for now, “recipes/default.rb” will just pull in three additional recipes which we’ll create:
# site-cookbooks/test_site/recipes/default.rb
include_recipe 'test_site::apache'
include_recipe 'test_site::mysql'
include_recipe 'test_site::wordpress'
Configuring the Web Server
We’ll start with the recipe code related to our web server, Apache. Create a new file alongside “default.rb” called “apache.rb” with the following contents:
# site-cookbooks/test_site/recipes/apache.rb
directory(node[:test_site][:app_root])

web_app(node[:test_site][:app_name]) do
  server_name(node[:test_site][:server_name])
  docroot(node[:test_site][:app_root])
  template('vhost.conf.erb')
end
First, we tell Chef that there should be a directory on the server for our site to live in. And below that, we use the apache2 cookbook’s web_app block to set up an Apache virtual host for our app. We identify the app by our cookbook’s default app_name attribute, set its hostname to the server_name attribute, and set the document root to the directory we created in the previous step, which is named after our app_name thanks to the initial attributes we set. Finally, we specify the template file from which Chef will generate our Apache virtual host declaration. Where did that template come from? Actually, we need to create it:
# site-cookbooks/test_site/templates/default/vhost.conf.erb
<VirtualHost *:80>
  ServerName <%= @params[:server_name] %>
  DocumentRoot <%= @params[:docroot] %>

  <Directory <%= @params[:docroot] %>>
    Options FollowSymLinks
    AllowOverride All
    Order allow,deny
    Allow from all
  </Directory>

  LogLevel info
  ErrorLog <%= @node[:apache][:log_dir] %>/<%= @params[:name] %>-error.log
  CustomLog <%= @node[:apache][:log_dir] %>/<%= @params[:name] %>-access.log combined
</VirtualHost>
Feel free to customize this as needed—it’s just a starting point. But this is all we’ll need to have Apache ready to serve up our site.
Configuring the Database
Next, we’ll create the test_site::mysql recipe. This will go in a file called “mysql.rb” alongside “default.rb” and “apache.rb” (notice a pattern?) Since this recipe will be using the third-party “database” cookbook we installed earlier, we’ll first tell Chef to pull in that cookbook’s “mysql” recipe:
# site-cookbooks/test_site/recipes/mysql.rb
include_recipe "database::mysql"
This will enable the MySQL-specific database methods we’ll use next:
# This is used repeatedly, so we'll store it in a variable
mysql_connection_info = {
  host:     'localhost',
  username: 'root',
  password: node['mysql']['server_root_password']
}

# Ensure a database exists with the name of our app
mysql_database node[:test_site][:app_name] do
  connection mysql_connection_info
  action     :create
end

# Ensure a database user exists with the name of our app
mysql_database_user node[:test_site][:app_name] do
  connection mysql_connection_info
  password   node[:test_site][:db_password]
  action     :create
end

# Let this database user access this database
mysql_database_user node[:test_site][:app_name] do
  mysql_connection_info
  password      node[:test_site][:db_password]
  database_name node[:test_site][:app_name]
  host          'localhost'
  action        :grant
end
In typical Chef fashion, we’re simply describing the desired state of our server: that a database and a database user should exist and that the database user should have access to the database. As we’d done before, we’re pulling in some of our recipe attributes to ensure consistent naming. This is all we need to get MySQL ready for installing WordPress, and that’s just what our final recipe will do.
Installing and Configuring WordPress
As you might have guessed, we have one more recipe to create at “test_site/recipes/wordpress.rb” alongside the others. First, this recipe should install WordPress within our app_root if it isn’t already installed. (There is a WordPress cookbook out there, but I couldn’t get it to work. In any case, a few lines of Ruby is all it took me to handle this on my own.)
# /site-cookbooks/test_site/recipes/wordpress.rb
ruby_block "install_wordpress" do
  block do
    require 'fileutils'
    FileUtils.cd node[:test_site][:app_root]
    system 'wget https://wordpress.org/latest.tar.gz'
    system 'tar -xzf latest.tar.gz --strip-components=1 && rm latest.tar.gz'
  end
  not_if { ::File.exist?(File.join(node[:test_site][:app_root], 'wp-settings.php')) }
  action :create
end
This takes advantage of Chef’s ruby_block DSL. We provide a block to execute, a not_if block which we use to not install WordPress if we detect it’s already installed, and an action type for Chef (:create is the default for Ruby blocks, but I’ve included it here to be extra clear.) What this does in English is, if there isn’t a file called wp-settings.php (I arbitrarily chose a WordPress core file) within the app root, we assume WordPress isn’t installed and install it by downloading the latest tar file, extracting its contents to the current directory, and then deleting the tar archive.
With WordPress downloaded to our app root, the next step is to update our “wp-config.php” with our database information. We’ll do this with the handy template block:
template("#{node[:test_site][:app_root]}/wp-config.php") do
  source("wp-config.php.erb")
  variables(
    db_name: node[:test_site][:app_name],
    db_user: node[:test_site][:app_name],
    db_password: node[:test_site][:db_password]
  )
end
Here, we tell Chef that a “wp-config.php” file should exist within our app root and be generated from the “wp-config.php.erb” template (which we’ll create next). We then declare some variables which we can access as instance variables within the ERB template. To create “wp-config.php.erb”, copy the contents of “wp-config-sample.php” (which you can find here) into a new file, “templates/wp-config.php.erb”, within your cookbook directory. There are just a few lines to change under MySQL settings:
# using the variables we'd set in the `template` block above
define('DB_NAME', '<%= @db_name %>');
define('DB_USER', '<%= @db_user %>');
define('DB_PASSWORD', '<%= @db_password %>');
This will configure WordPress to use the MySQL database and user we created in the previous section. (As a final step, you’ll also want to generate unique keys and salts and paste them into the appropriate place in the template as you would with any WordPress installation.)
We have one more Chef command to include in our wordpress.rb recipe:
execute "set_apache_as_owner" do
  command "chown #{node['apache']['user']} -R #{node[:test_site][:app_root]}"
end
All this does is change the owner of our WordPress files to our Apache user, instead of the default, root. This is necessary for WordPress (running as the Apache user) to be able to function without resorting to overly liberal file permissions.
Launch
All that’s left now is to add our custom “test_site” cookbook to our server node’s run_list:
# nodes/IP_OR_HOSTNAME.json
{
  "run_list": [
    "recipe[apache2]",
    // ...
    "recipe[test_site]"
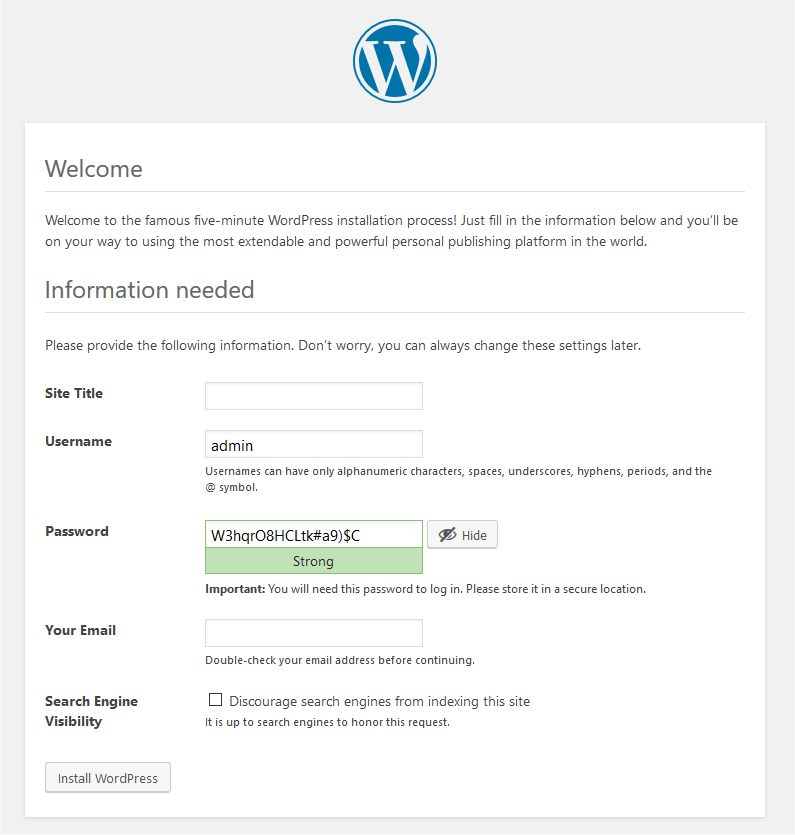
When we run $ knife solo cook root@IP_OR_HOSTNAME Chef will follow our recipe and create the directory, virtual host record, database and users, and download and configure WordPress—all following our recipe. When Chef is finished, we should be able to visit the site and be guided by WordPress through the rest of the installation process.